A few things are important to remember before you begin planting. It is important to determine how much sunlight you receive in your area and how much rainfall you get. You also need to think about the soil in your area. To improve the soil's health, you might need to add nutrients and organic materials.
Preparing your garden to grow
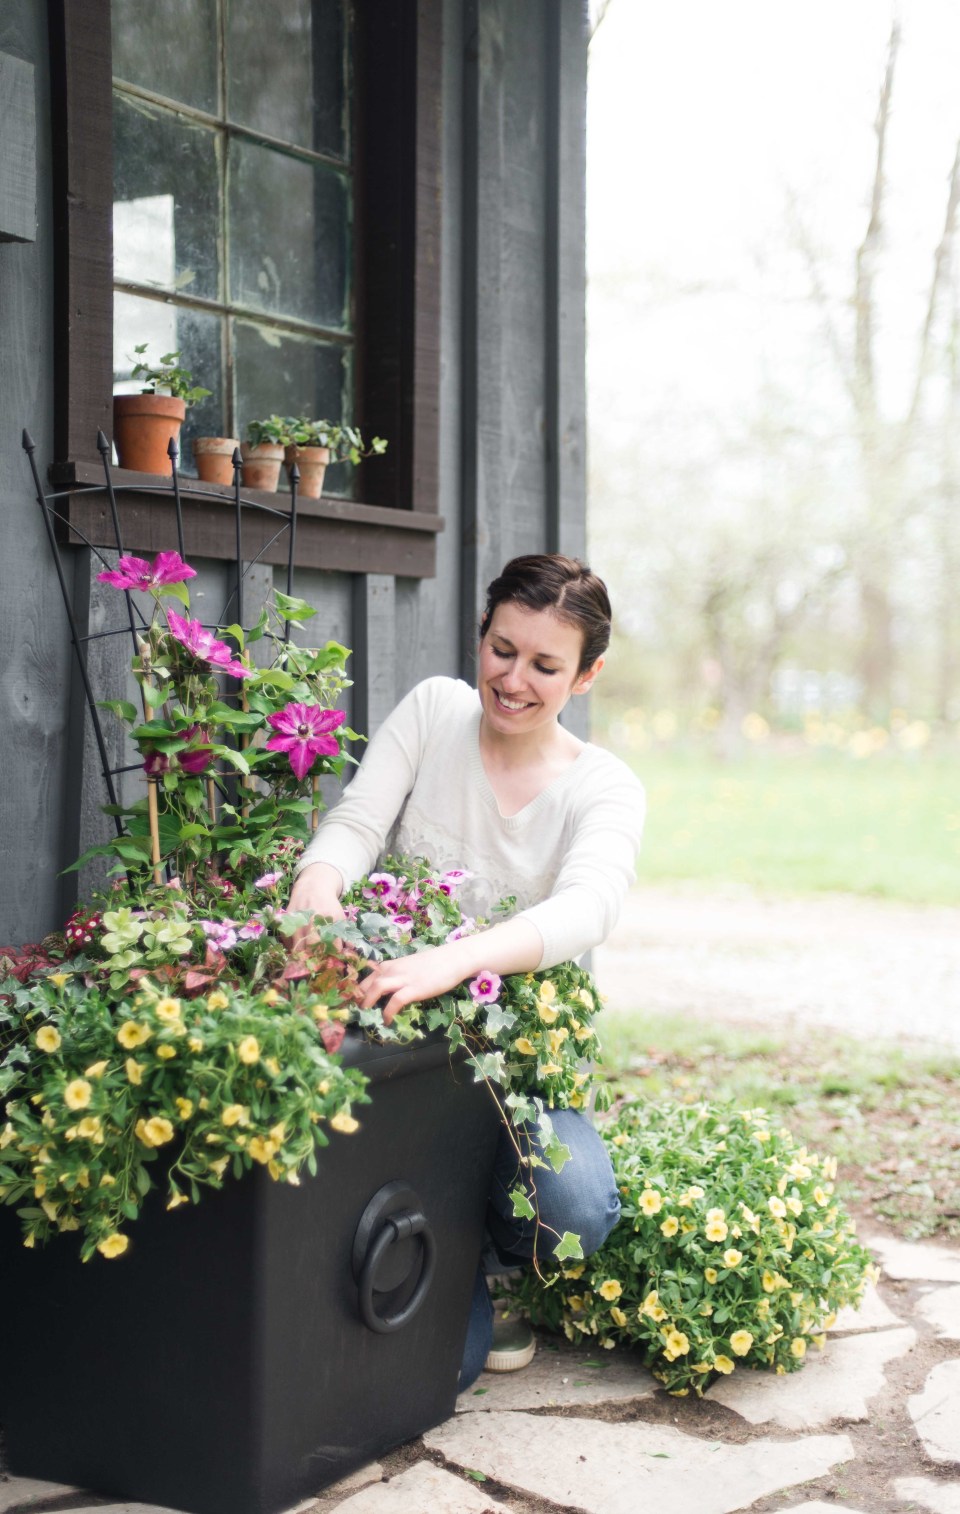
Planning is the first step in preparing your garden for the growing season. The first step is to decide where and what kind of plants you want. Find out if your plants require shade or sunlight and ensure you get the right seeds. Online seed stores and seed catalogs are filled with heirloom seeds. Local seed sources are also a great option for selecting seeds.
It's springtime in the Northern Hemisphere, and that means it's time to start thinking about your vegetable garden. You can prepare for spring gardening in a variety of ways, from practical to magical. Biodynamic farmers have a long-standing tradition of burying cow skulls in their soil. Some gardeners believe that cow skulls can bring good luck to their plants.
You should prepare the soil. However, you must also add nutrients to it. These could include seaweeds, kelp organic soil conditioners composted manure blood and bone, homemade fertilizers and worm castings. Next, apply a thick layer to the mulch to stop weeds and retain moisture.
Cleaning tools
Spring is a great season to clean tools in preparation for gardening. It's important to start by washing your tools thoroughly with a garden hose, and using a wire brush to remove all dirt and grime. You can also disinfect your tools using a disinfecting product. For metal handles you can use fine steel wool or vinegar to scrub them. If you have wooden handles, you could rub them with linseed or turpentine. You need to wipe the cleaning solution off your tools after cleaning them.
Your success in the garden depends on the cleanliness of your gardening tools. Clean tools prevent rust and keep their edges sharp. It also helps to get rid of any soil that could harbor pathogens. It is important to clean your tools and pots to avoid cross-contamination which could lead to plant disease.
After cleaning your tools, you should disinfect them. Combine 1 part vinegar with 2 parts water. Soak your tools in this solution for about 10 minutes, and then rinse with a clean cloth. You can repeat this process if needed. To disinfect your tools, you can also use bleach or rubbing alcohol.
Fertilizing plants
It is important to fertilize plants in spring gardening. All plants can be fertilized at this point, but annuals will need special attention. These plants require fertilization throughout the growing season and need it during the onset of new growth. Your annuals should be fertilized once per month from April through June, and once every two weeks during July and August. If you live in warm climates, you should stop fertilizing for the summer and start fertilizing again in the fall.
It is dependent on the type of garden that you have that determines what kind of fertilizer to apply to your plants during spring. If you have a perennial or annual garden, you can fertilize it with a mix of topical and liquid fertilizers. A slow-releasing general-formula fertiliser can also be used. Because perennials have larger root systems and require more room for growth, it is important to properly space them.
Do a soil analysis to find out which fertilizer type you should use. This will help you determine how much fertilizer is needed to avoid over-fertilizing your plants or wasting them. A soil test will help you figure how much fertilizer is needed for your plants, as different plants use different nutrients every year.
Divide perennials
Dividing perennials can be a great way to multiply them. Divide perennials after they have bloomed in spring or autumn. They can also be divided in winter. It is best to divide them in spring as the cooler temperatures will make it more convenient to move and divide. Plants that are in bloom will use most of their energy for reproduction and not take root stress very well. Divide perennials in spring or autumn to avoid this problem.
Plant the divisions soon after they are divided. Dig a hole that is at least twice the diameter of the root ball. Once the soil has refilled, you should fill the hole again with soil. Remember to keep the crown of the plant slightly above the soil level. To prevent the divisions from drying out, water them often.
A second reason to divide perennials, is to increase their flowering ability. When a plant has been growing in the same spot for several years, it may have lost their blooms and become depressed. The crown may have a bald area. It may need to be stooped in order for it to remain upright. Additionally, plants that are too crowded compete for nutrients or water and can become sick from a lack of airflow. Dividing perennials in smaller sections will decrease competition and encourage new growth.
Putting up trellises
Trellises are a great way of supporting your plants in the garden. They can be freestanding or attached securely to posts. Trellises can made from wood, metal, and plastic mesh. Some trellises may be angled so that their bottom posts sink into the ground.
Many vegetables are easier to pick when they are raised on a tree. A squash plant suspended from a tree will be easier for you to pick and spot. A trellis also benefits pollinators who will be able flit between flowers much faster.
When choosing plants for your trellis, remember that they need adequate sunlight to bloom well. The right amount of sunlight will result in better quality flowers. Your trellis will be most effective if you plan the length and spacing of each plant. A trellis is more effective when it complements other plants, or if it serves as the main focal point.
Next, place your trellis posts. You can make an arch shape by using double the number stakes for fence posts. But, for more support, use longer posts. Place your posts at least 2 feet in depth. Once you've done that, attach the wire mesh to your posts with metal tabs. Baling wire can be used at the corners and bottom to add stability.
Pruning of early flowering shrubs
Pruning flowering shrubs that bloom early for spring or winter is a critical task, especially if the goal is to encourage new leaf growth. You should avoid pruning dormant buds, which will result in less blooming. If you find dead wood, cut any branches.

The stems should be cut to one-third of the total length in order to prune early flowering shrubs. This will keep the plant's natural shape and give it more air and light. This will also increase flowering. However, you should avoid pruning too heavily and only one-third of the largest stems. If you need to prune, you should use loppers or a saw.
Also, you should prune summer-blooming trees during winter. This will promote new growth and flowering. However, it is important to know which shrubs you are pruning and when. You should be aware that some shrubs are more sensitive than others and which ones require pruning. Hydrangeas, for example, bloom on old wood. To encourage blooming, don't prune them in the autumn.
Spring-flowering shrubs should be pruned only in the summer and early fall. This will encourage the growth of new branches which may not survive winter. This can cause damage to your shrubs. You should also trim any dead limbs or diseased branches that you prune during winter. If you prune them in the late winter/early spring, ensure that they are done after the last blooming season.
Eliminating weeds
One of the most important spring gardening tasks is getting rid of weeds. Weeds are a threat to your plants' health and can cause serious disease or infestation. You can enjoy more beautiful vegetables and flowers by manually removing weeds from your garden.
There are many methods to remove weeds. You can first use boiling water to kill them. This will kill any roots or seeds in the soil. This method works well for lawns, gardens, and walkways. Be careful though, as boiling water can kill any plant that comes in contact with it.
You can also use hand tools to get rid of weeds. These tools come with a short handle, usually six to 12 inches, and feature finger-like prongs. Hand hoes with hook necks are excellent for pulling weeds that grow between the beneficial plants in your garden. A hand shovel can be used to dig out large weed root.
FAQ
When can you plant flowers in your garden?
Spring is the best season to plant flowers. It is when the temperatures are warmer and the soil is still moist. Planting flowers should be done after the first frost if you live in a cold climate. The ideal temperature for indoor plants is around 60 degrees Fahrenheit.
Can I grow vegetables indoors?
Yes, it is possible for vegetables to be grown inside during winter months. You will need a greenhouse or grow lighting. Before buying a greenhouse, check with your local laws.
What vegetables do you recommend growing together?
Tomatoes and peppers can be grown together because they prefer similar soil conditions. They are a good match since peppers need colder temperatures to produce their best flavor. Plant them together indoors at least six weeks before you plant them. Once the weather cools down, transplant the pepper or tomato plants outdoors.
Which seeds should you start indoors?
A tomato seed makes the best seed for indoor planting. Tomatoes can be grown quickly and they bear fruit all year. Plant tomatoes in pots and be careful about putting them in the ground. The soil could dry out if you plant too early. This could lead to root rot. Plant diseases like bacterial disease can quickly kill plants.
What is the maximum time I can keep an indoor plant alive for?
Indoor plants can last for many years. To encourage new growth, it is important to repot your indoor plant every few months. Repotting is easy. All you have to do is remove the soil and put in fresh compost.
What should you do first when you start a garden?
Preparing the soil is the most important step in starting a garden. This involves adding organic matter like composted manure and grass clippings as well as leaves, straw, straw, and other materials that provide nutrients to the soil. Next, plant the seeds or seedlings in the holes. Then, water well.
Does my backyard have enough room for a vegetable garden?
If you don't already have a vegetable garden, you might wonder whether you'll have enough room for one. Yes. A vegetable garden doesn't take up much space at all. It's all about planning. Raised beds can be built as low as 6 inches. Containers can be used in place of raised beds. You'll still get lots of produce.
Statistics
- According to a survey from the National Gardening Association, upward of 18 million novice gardeners have picked up a shovel since 2020. (wsj.com)
- As the price of fruit and vegetables is expected to rise by 8% after Brexit, the idea of growing your own is now better than ever. (countryliving.com)
- 80% of residents spent a lifetime as large-scale farmers (or working on farms) using many chemicals believed to be cancerous today. (acountrygirlslife.com)
- It will likely be ready if a seedling has between 3 and 4 true leaves. (gilmour.com)
External Links
How To
How to plant tomatoes
To plant tomatoes, you need to have a garden or container. You need to have patience, love, and care when growing tomatoes. There are many types of tomato plants that you can buy online or at your local hardware store. Some require special soil; others don't. A bush tomato is the most popular type of tomato plant. It grows from a small, flat ball at its base. It's very easy to grow, and it is also very productive. A starter kit is necessary to get started growing tomatoes. These kits can usually be found in garden shops or nurseries. They include everything you need for getting started.
There are three major steps to planting tomatoes.
-
Place them where you would like.
-
Prepare the ground. This involves digging up dirt and removing stones and weeds.
-
Place the seeds directly onto the prepared ground. After placing the seeds, be sure to water well.
-
Wait for the sprouts to appear. Wait for the first leaves.
-
When the stems reach 1cm (0.4 inches), transplant them in larger pots.
-
Keep watering each day.
-
When they're fully ripe you should harvest the fruits.
-
Eat fresh tomatoes as soon as possible or store them in the refrigerator.
-
You can repeat this each year.
-
Before you start, read every instruction.
-
Have fun growing your tomatoes!